Contact us
Getting started using KARREN
KARREN’s look and features are evolving. Your screen probably looks different than this quick start guide, but the key concepts remain the same. This is a short walk through the getting started phase.
1. Create your first Project & Activities
The first step to start using KARREN, is to create a Project:
- Click on the “Create Project” button on the Home page
- Fill the information about the Project Creation pop up window
- Click on the “Create” button once all the fields have been filled
Your Project is created: it is shown on the list of Projects of the Home page.
You can configure further the newly created Project: managing Roles and Permissions, creating Activities,… by opening the Project (click on the Project of the Home page).
To create your first Activity:
- Go to the “Management” tab of the project
- Click on the “Create an Activity” button
- Fill necessary information in the activity creation pop up
- Click on the “Create” button once all the required fields have been filled
The newly created Activity appears on the list of Activities of the Project. An Activity can be configured further by opening it to manage Roles and Permissions, creating Branches, …
2. Define your System & Collaborations
2.1. Define your System & Collaborations
Create a Branch for an Activity:
- Go to the “Management” tab of the Activity
- Click on the “Create a Branch” button
- Fill the required information in the Branch creation pop up
- Click on the “Create” button once all the fields have been filled
The newly created Branch appears on the list of Branches of the Activity.
A Branch can be also created by copying another Branch: select the Branch to be copied from the list and click on the “Copy from” button.
A Branch can be further configured by opening it: managing Roles and Permissions, creating Products, Requirements, defining the Connection Map, creating Candidates…
2.2. Define Products, Requirements & Viewpoints
Products, Requirements, Viewpoints and the Connection Map are created inside a Branch.
To create Products:
- Go to “Products” on the tab of the Branch
- Click on the “Create a Product” button
- Fill the necessary information in the Product Creation pop up
- Click on the “Create” button once all the fields have been filled
The newly created Product appears in the list of Products of the Branch.
A product can be also imported from an Excel file.
To create Requirements:
- Go to the “Requirements” tab of the Branch
- Click on the “Create a Requirement” button
- Fill information in the Product Creation pop up
- Click on the “Create” button once all the fields have been filled
The newly created Requirement appears on the list of Requirement of the Branch.
A Requirement can also be imported from an Excel file.
The Requirements can also be viewed as a tree by selecting the “Tree View”.
To define Viewpoints for a Branch:
- Go to “Viewpoints” tab of the Branch
- Click on the “Create a Viewpoint” button
- Fill the information in the Viewpoint creation pop up
- Click on the “Create” button once all the fields have been filled
The newly Viewpoint appears in the list of Viewpoints of the Branch.
2.3. Define your Engineering Collaboration Process
The Engineering Collaboration process is defined in the “Connection Map” tab of the Branch. It describes how the Viewpoints use the Products & Requirements and Collaborate with them.
3. Collaborate & Optimize your product
At the Branch level, once your engineering Project is translated into Products, Requirements, Viewpoints and the template of Collaboration is defined, Candidates can be created (template).
A Candidate is a space for consolidating the collaborative work of the engineers from different fields and checking that the Requirements are met. The work of an engineer is done in a Viewpoint where he evaluates the parameters of the products (and check the constraints associated with those parameters). When an engineer is satisfied with his work, he can publish the Viewpoint. At the Candidates level, the published Viewpoints are consolidated to propose a Solution.
3.1. Create a Candidate
To create a Candidate for a Branch:
- Go to the “Management” tab of the Branch
- Click on the “create a Candidate” button
- Fill the necessary information in the Candidate creation pop up
- Click on the “Create” button once all the fields have been filled
The newly created Candidate appears on the list of the Candidates of the Branch.
3.2. Work in a Viewpoint
To evaluate Parameters in a Viewpoint:
- Go to the “Parameter Evaluation” tab of the Viewpoint
- Select the Products whose Parameters are to be evaluated
- Fill out the values (and units) of the Parameters
Parameters can be evaluated using Connectors. In such case, the engineer can directly synchronize the values in KARREN from an engineering software (ex: CATIA).
The table of Requirements of the “Parameter Evaluation” tab shows whether the constraints (Requirements) are verified. The status of the constraints is updated each time a Parameter is investigated.
3.3. Consolidate your Engineering Work & Find Solutions for Best Product
When engineers are satisfied with their work publish they publish their Viewpoints. The published Viewpoints are consolidated into a Solution. This work is done using the “Consolidation” tab of the Candidate. At the end of the consolidation process, a single value is chosen for every Parameter of the Candidate and the Requirements are checked against those chosen values. The chosen value for a Parameter can be either a value that was proposed by an engineer (when published his Viewpoint) or a trade-off between values proposed by many engineers.
Once a Candidate is consolidated, it can be proposed as a Solution by publishing it. It is the responsibility of the “Branch Manager” to validate the proposition (acknowledge the Candidate as a Solution) or to reject it.
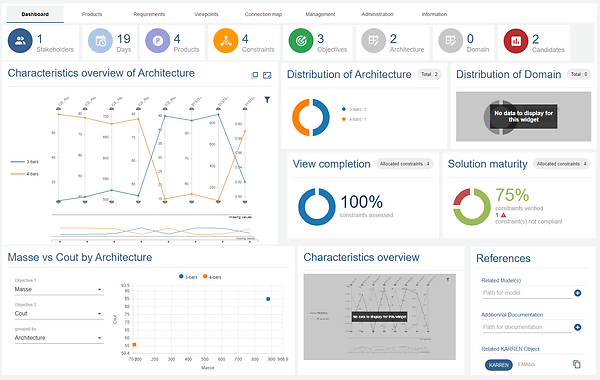
When several Solutions are proposed, they can be compared using Dashboard to select the most suitable according to the project design criteria.